Configure Extrinsics
Extrinsics tell EagleEye where the camera sits on the robot. Intrinsics turn a tag into "the camera is here relative to the tag"; extrinsics turn that into "the robot is here".
Get these wrong and your pose will be consistently offset — often by exactly the distance from the camera to robot center, which is easy to spot once you know to look for it.
What you need before you start
- The camera's bus ID (from Check Your Cameras).
- Measurements from the robot's center to the camera lens, in meters.
- Which way the camera points.
Measure to the front of the lens, not the back of the housing, and measure from the point your robot code treats as the robot origin — usually the center of the drivetrain footprint.
1. Open the camera config
- Open the Utils tab.
- Select the camera in the Camera dropdown.
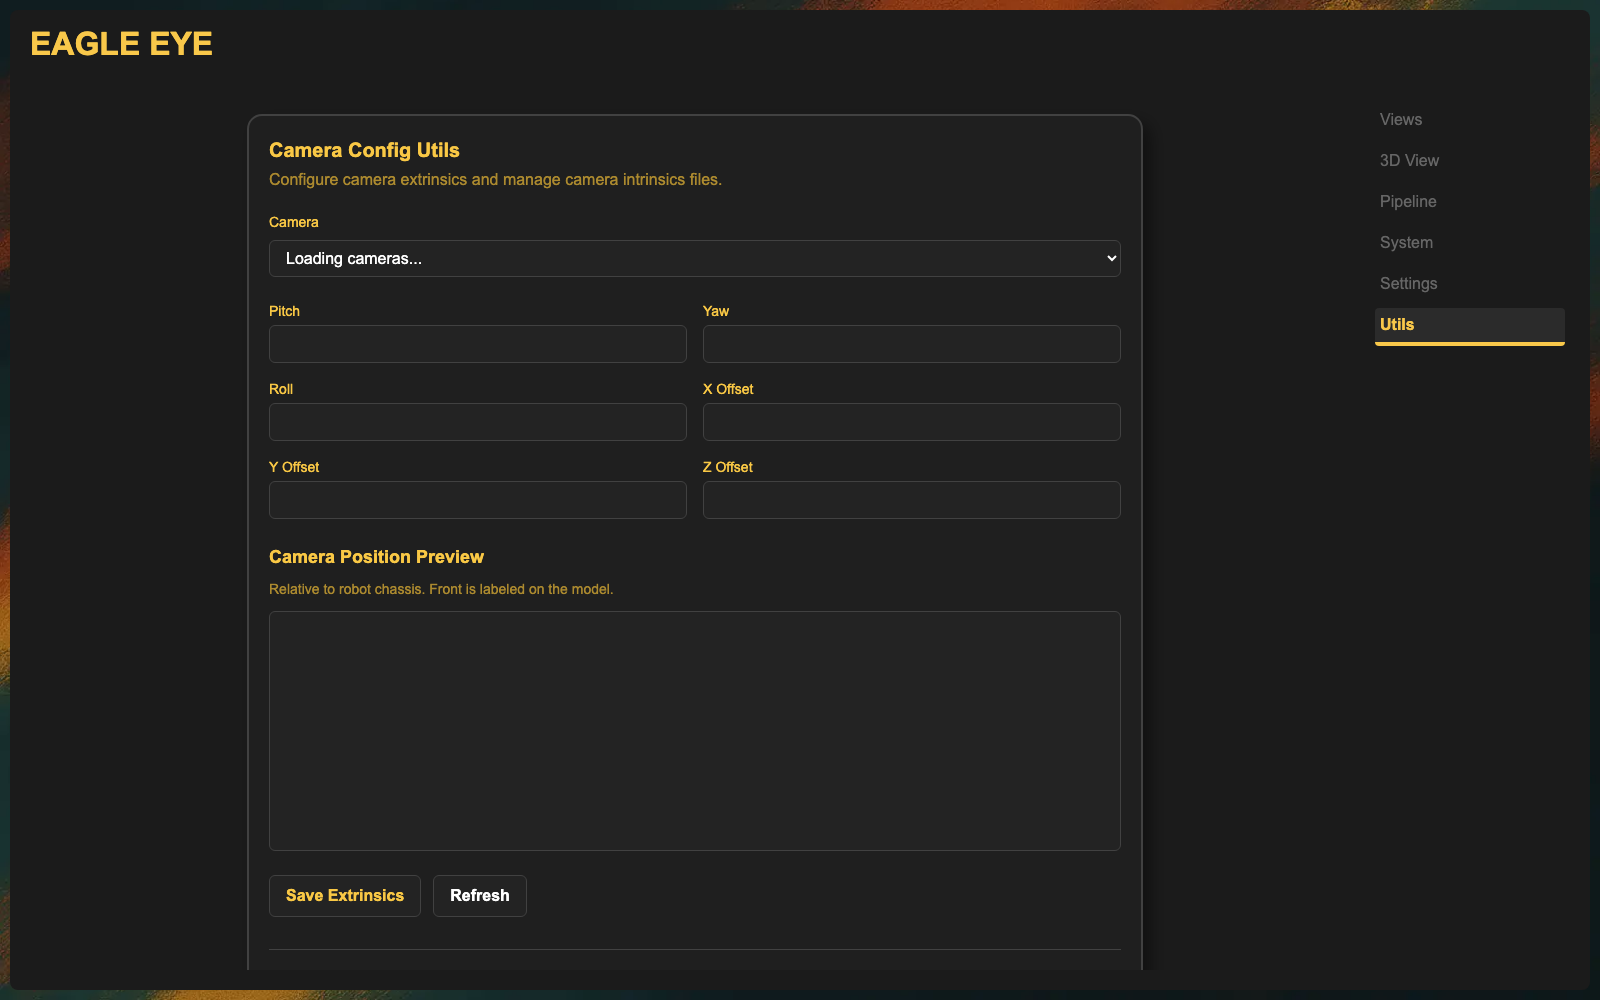
2. Fill in the fields
| Field | Meaning | Units |
|---|---|---|
| Pitch | Positive tips a forward-facing camera down; rotation about +Y | degrees |
| Yaw | Positive turns left; rotation about +Z | degrees |
| Roll | Positive rotates the robot's left axis toward up; rotation about +X | degrees |
| X Offset | Positive forward from robot origin | meters |
| Y Offset | Positive left from robot origin | meters |
| Z Offset | Positive up from robot origin | meters |
The mount uses robot NWU axes and rotation Rz(yaw) Ry(pitch) Rx(roll).
A level camera 0.25 m forward, 0.10 m left, and 0.60 m above the robot origin uses
X 0.25, Y 0.10, Z 0.60, with pitch/yaw/roll 0. A forward camera tilted 15°
up uses pitch -15.
Mount angles describe the physical camera pose. frame_rotation rotates image pixels;
keep that setting consistent with the calibration and solver convention rather than using
it to hide an incorrect mounting transform. The frontend preview and backend mounting
compensation use the same signs. Verify measured values instead of guessing or applying
extra sign flips in robot code.
3. Use the preview
The Camera Position Preview below the fields shows a robot model with the camera drawn at the position and angle you entered. The front of the robot is labelled.
Expected result: the little camera in the preview is where the real camera is on the real robot, pointing the same way. If the preview shows the camera behind the robot or aiming at the floor when it should aim forward, fix the numbers before saving.
4. Save
Click Save Extrinsics.
Expected result: the save is confirmed and the values persist after you switch cameras and switch back, or reload the page.
Use Refresh to reload the stored values if you want to discard unsaved edits.
5. Repeat for every camera
Each camera has its own extrinsics. Do all of them now, while you have the tape measure out.
Troubleshooting
| Symptom | Likely cause | Fix |
|---|---|---|
| Pose is offset by a fixed amount in one direction | An offset has the wrong sign or is measured from the wrong origin | Re-measure from the robot origin using +X forward, +Y left, +Z up |
| Pose is mirrored left/right | Mixed field/display conventions or incorrect mounting values | Check the NWU contract and measured mount; remove extra Java coordinate conversions |
| Robot appears to float above or sink below the field | Z offset wrong, or measured to the wrong reference | Measure lens height from the floor |
| Values reset after restart | Save not clicked, or wrong camera selected when saving | Re-enter and click Save Extrinsics with the right camera selected |
Next: Connect NetworkTables.
Updated for the tested shared NWU mounting transform. The stored extrinsics fields are exactly pitch, yaw, roll, and the X/Y/Z offsets — there are no field of view fields.